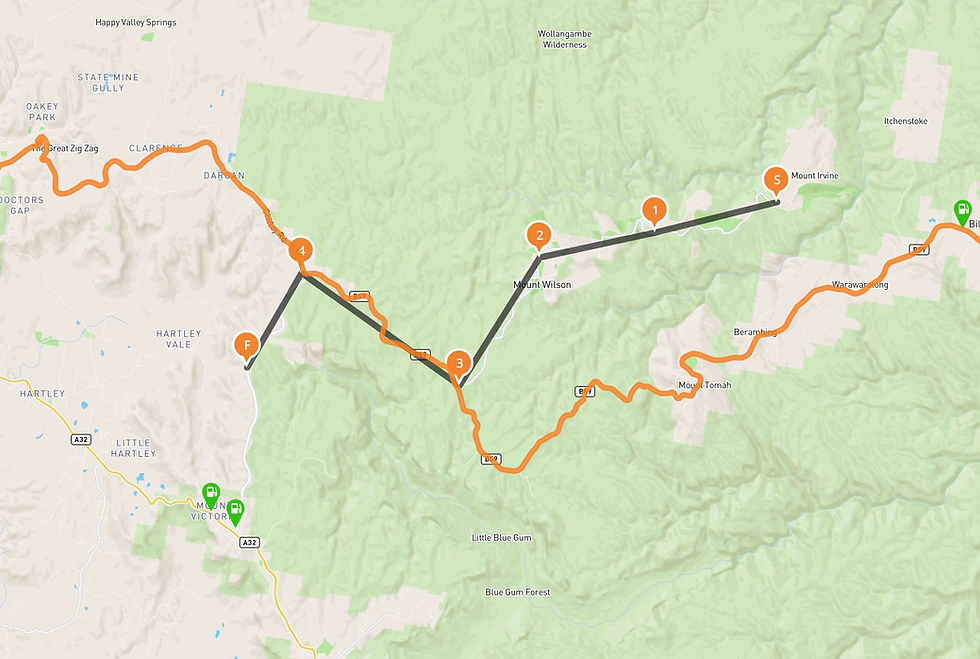
How to create and use GPX Files for motorcycling
- Vern
- Aug 2, 2021
- 4 min read
Updated: Sep 23, 2021
When we’re navigating on road, it’s easy enough to tap in a location and let Google Maps, Apple Maps or similar find the route for us. But what if we want to follow a different path? What if we want to follow a specific road or even go somewhere where there is no road? That’s where the GPX file comes in.
Not only are GPX files a fantastic way to plan routes, but they’re also a very accurate way to share them.
What is GPX?
GPX is essentially a file format that stores a whole bunch of GPS coordinates over a period of time.
Since we can record locations over a period of time, we can then join those points together and end up with a path that we followed, which then allows us to follow that same path again if we’re using an app or device that shows that path.
Like other exchange file formats, if you want to get really nerdy, there is a standard defined and full scheme that GPX files are expected to follow for them to be compatible between different devices.
Creating a GPX file
For the Road
You need to decide what you will use to create the map. Personally, if I’m doing a road only ride, I use Google My Maps because it’s up to date and the estimations for travel are pretty accurate. However, if we’re going off-road, that won’t work because Google won’t follow the path that it doesn’t recognise. This is where you then look at REVER, HEMA or if it’s going to get really fun, you just create basic waypoints. There are also a few desktop apps like my personal favourite Road Trip Planner.

So, let’s look at the basic road version first.
Go to Google My Maps, click on “Create a new map”, create a directions layer and start adding locations. You can then click and drag to change the path you want to take which is why I like this method. You can then add additional points of interest in another layer as well if you want to include that in your GPX file.

Then go up to the top, give your map a name so you can find it later and then to the right of the name, click the three-dot menu and select “Export and KML/KMZ”. Now KML is Google’s version of GPX for Google Earth so we’ll then convert this to GPX format via GPS visualiser. The two steps process is a bit of a pain but it only takes a few seconds to do it and it’s accurate and free.
Although I suggest donating to GPS visualiser because it’s a great service.

A lot of other programmes like Road Trip Planner are great for building trips and they will then have a GPX export option to send to your devices.
Off-Road
Now, what if you’re going off-road? So it depends on what you’re using to create your map but this is where paid services like REVER or HEMA come into it. HEMA is arguably the leading Australian map service and has hard and soft map options including their own app.
The big difference here is that without following a road, the path is going to use waypoints to follow and is therefore not going to be as accurate. So you need to consider this in your timings but most apps will allow you to simply click to create a path.
This is why GPX files are particularly valuable for offroad because if you can follow a GPX file that someone else has created following the same path, it’s much more accurate.

Where you can use it?
So now that we have a GPX file, what do we do with it? If you’re using a GPS device like a Garmin etc, you can check out your user manual on how to import GPX files as each device will do it in its own way.
If you’re using a photo such as an iPhone, most apps now have an import option via sharing. If you’re on a Mac is as simple as AirDropping it to your phone or send it as a text message or email. You can import a GPX file into many apps but the one I use the most, and seems to be popular amongst riders and 4WDers is OSMAnd. You simply select the app when you’re receiving the file and it will open the app and import. Each app will then have its own functions from there.
With OSMAnd the simplest way to follow the GPX path is simply to show it on the map and follow it as you go. However, OSMand also has an option to set the path as the navigation so that voice prompting works and if you’ve got your helmet plugged into audio, that’s super handy.

Create as you go
In these examples we looked at so far, we’ve created the file prior to going on our adventure but you can also record a path as you’re riding or driving and then export that as a GPX file. There’s plenty of apps that do this but with my tests, I’ve found that OSMAnd has the most data in the resulting GPX file including speed and heading which is handy to have.
And then, of course, once you have a GPX file you can share it with other riders via the MotoRides Australia website.
Some other cool things you can do is upload it into other applications such as Relive, Google Earth, I use it on the maps in my videos, you can also cross-reference it with capture times on photos to store the location if you’re using a non-GPS enabled camera. Or is it just me that is that nerdy maybe?


Comments